Getting started
This quickstart shows you how to integrate Hubpay’s Hosted Payment Page (HPP) into your application or website.
You’ll learn how to:
- Create a payment link
- Redirect customers to our secure checkout page
- Handle the result (confirmation, cancellation) using redirect URLs and webhooks
💡 You’ll need API credentials and access to the Collections API.
See our Authentication Guide for more details.
1. Create a payer (if needed)
You can either reference an existing payer by payerId, or create one inline when creating the payment request.
- Existing payer: If you already have a
payerId, you can skip this step and pass it directly in the payment request. - New payer: Create one ahead of time using the API, or provide the payer details inline in the
payerfield of the payment request (see step 3).
📘 API Reference → Create Payer
2. Upload a document (optional)
Depending on your merchant configuration and selected payment method(s), Hubpay may require an official document (such as an Invoice, Purchase Order, Sales Purchase Agreement, Commercial Contract etc.) to verify the transaction details and ensure compliance with UAE regulatory requirements.
📘 API Reference → Upload Document
{
  "id": "550e8400-e29b-41d4-a716-446655440000"
}
3. Create a payment request
Create a payment request referencing either a payerId or inline payer details. The documentId is optional but may be required based on merchant configuration and selected payment method(s).
Be sure to set executionMode to HOSTED_PAGE in your request payload.
The response will contain a paymentUrl with an attached sessionToken (signed JWT).
This token is required to access the payment page and is valid for 1 hour.
Set autoSendPaymentLink to true to automatically email the payment link to the payer.
📘 API Reference → Create Payment Request
Example with existing payer:
{
  "payerId": "550e8400-e29b-41d4-a716-446655440000",
  "executionMode": "HOSTED_PAGE",
  "autoSendPaymentLink": true,
  "successRedirectUrl": "https://yourapp.com/success",
  "cancelRedirectUrl": "https://yourapp.com/cancel"
}
Example with inline payer:
{
  "payer": {
    "externalId": "EX123",
    "type": "INDIVIDUAL",
    "fullLegalName": "John Doe",
    "emailAddress": "john@example.com",
    "country": "AE",
    "notificationEnabled": true,
    "cryptoEnabled": false
  },
  "executionMode": "HOSTED_PAGE",
  "autoSendPaymentLink": true,
  "successRedirectUrl": "https://yourapp.com/success",
  "cancelRedirectUrl": "https://yourapp.com/cancel"
}
Part of an example response:
{
  "paymentUrl": "https://pay.hubpay.io/AH-VGTJ-24GX?sessionToken=eyJhbGciOiJSUzI1NiIs...",
  "successRedirectUrl": "https://yourapp.com/success",
  "cancelRedirectUrl": "https://yourapp.com/cancel"
}
When the payer completes their payment journey, Hubpay adds paymentRequestId and paymentId as query parameters to your success redirect URL:
https://yourapp.com/success?paymentRequestId=8a282576-18c0-4c0e-b158-44b92eda1afe&paymentId=46be2ff1-cdbf-4b3d-a4cd-beb0fb22ea0d
The successRedirectUrl redirect means the payer has completed their payment journey, not that funds have been received.
For example, with bank transfers, the payer may have successfully submitted payment instructions, but Hubpay has not yet received the funds.
Always verify payment status via webhook or API lookup before fulfilling orders or providing services.
If the session expires before payment is complete, you can refresh it using refresh payment session API which returns a new payment URL with the latest sessionToken, granting the user an additional 1 hour to complete payment.
4. Redirect the customer
Send your user to the paymentUrl:
window.location.href = paymentUrl;
For React Native, use react-native-webview:
<WebView
    source={{ uri: paymentUrl }}
    onMessage={handleMessage}
/>
After the redirect, your customer will see a page similar to this:
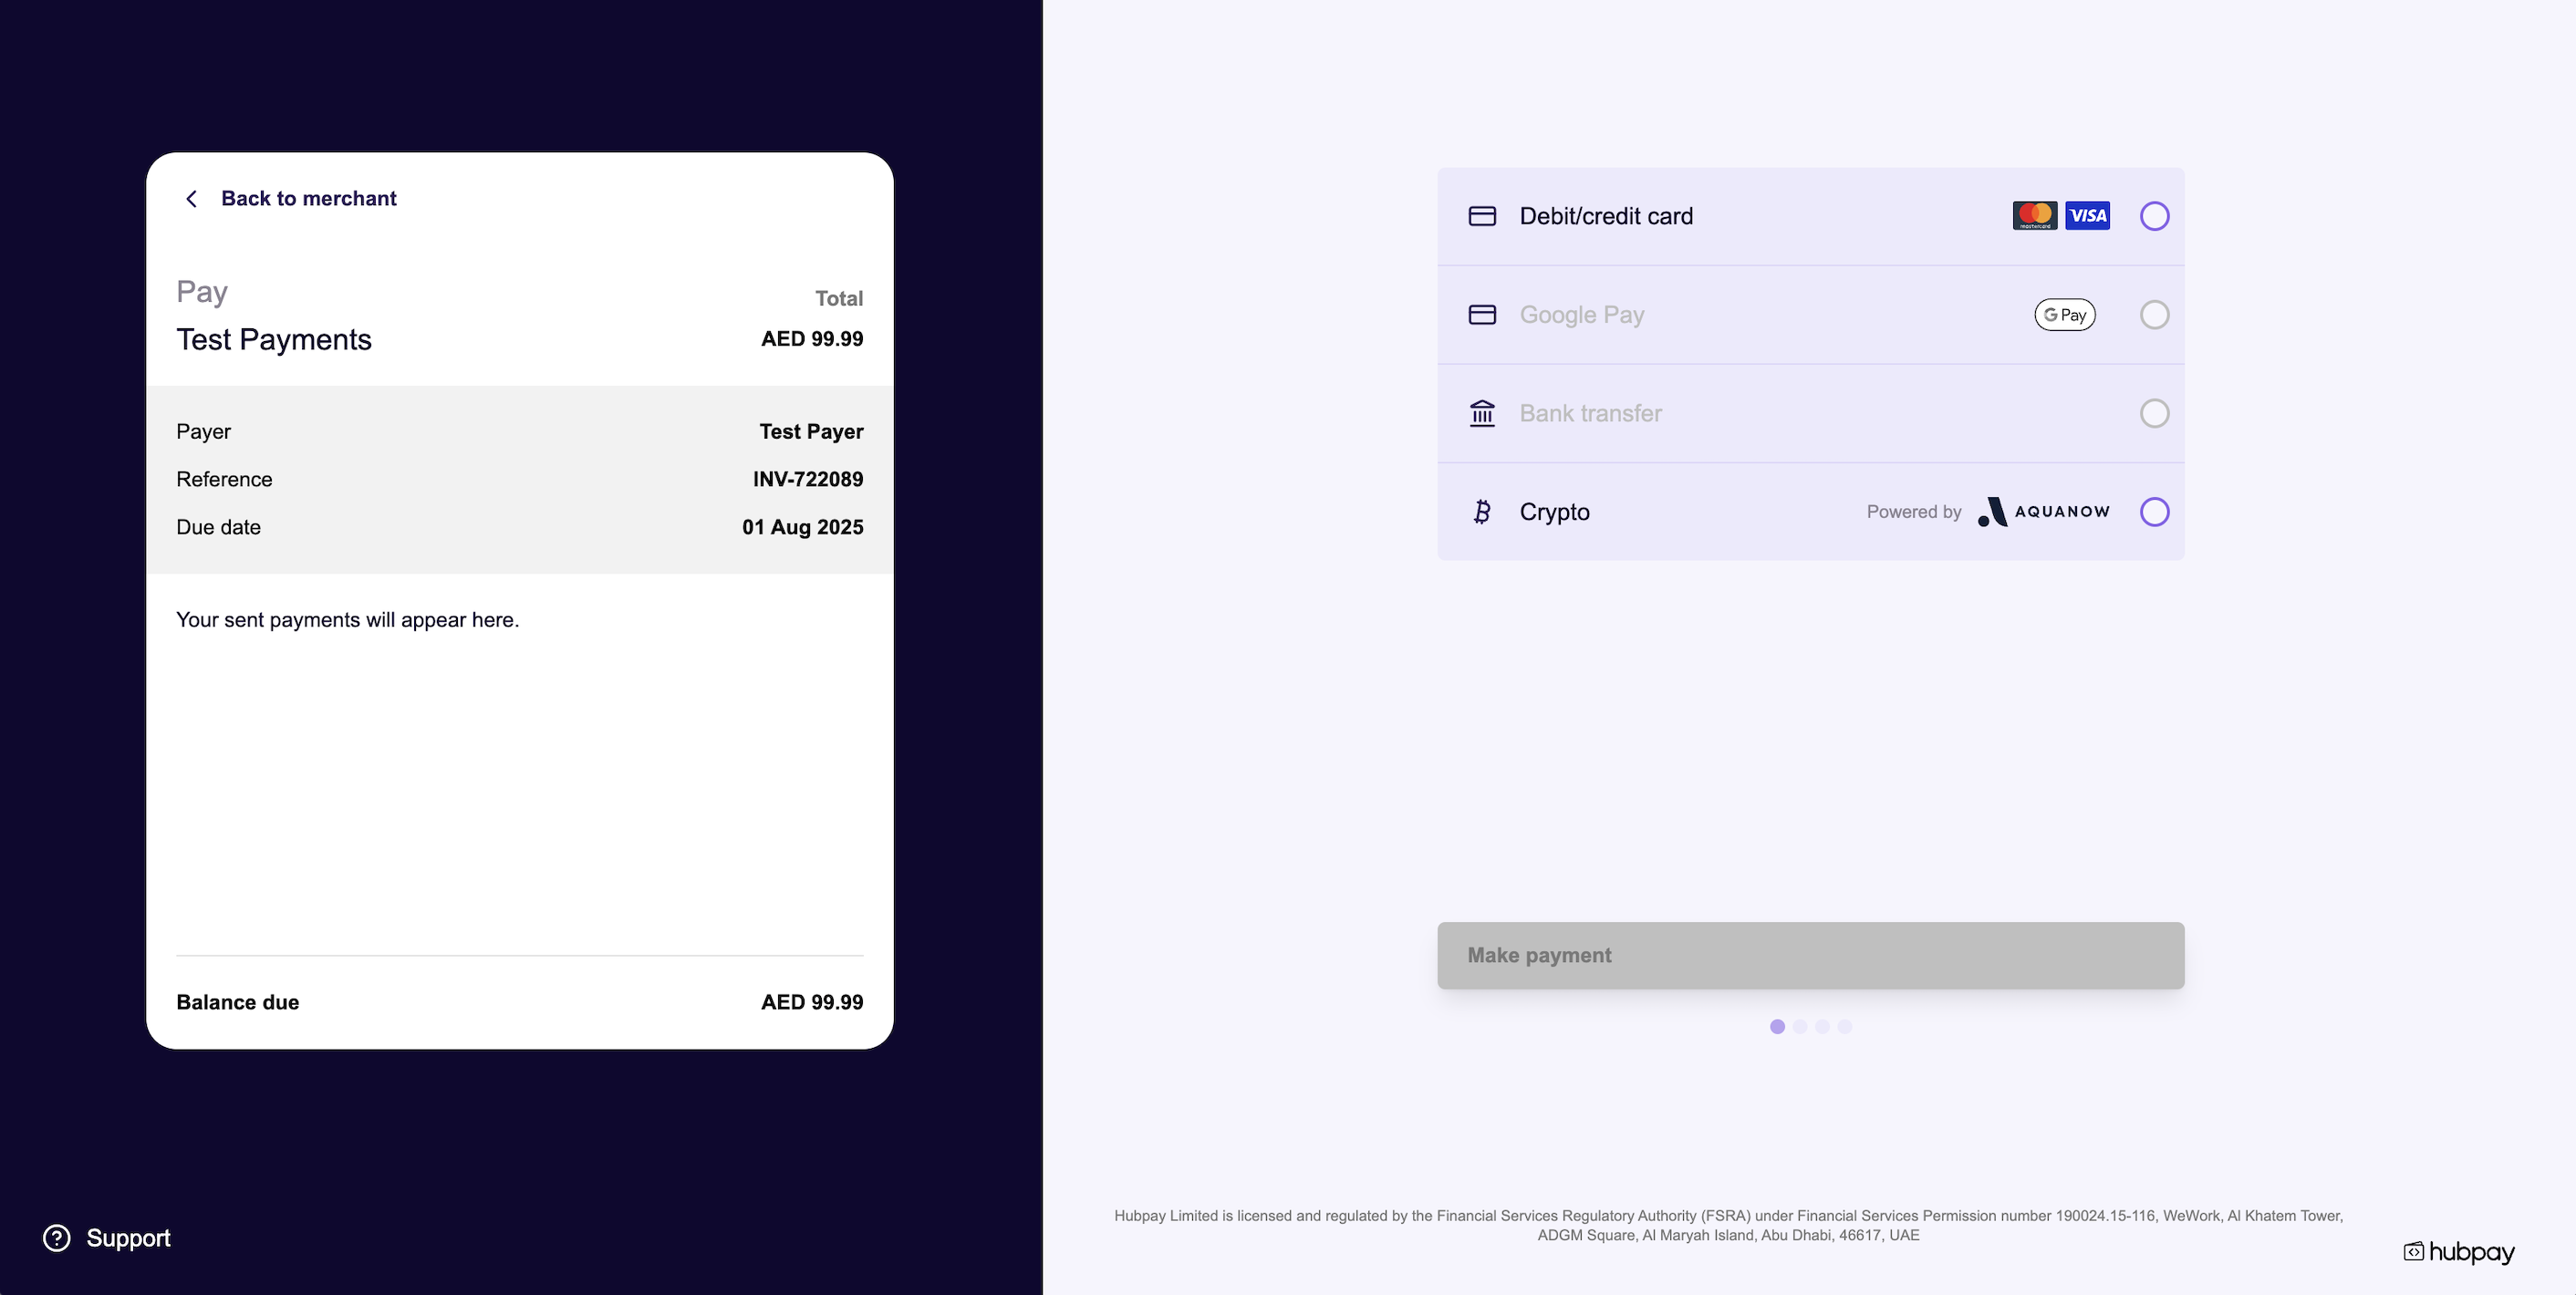
Typically, the customer is redirected after clicking a “Pay” button or completing their payment confirmation.
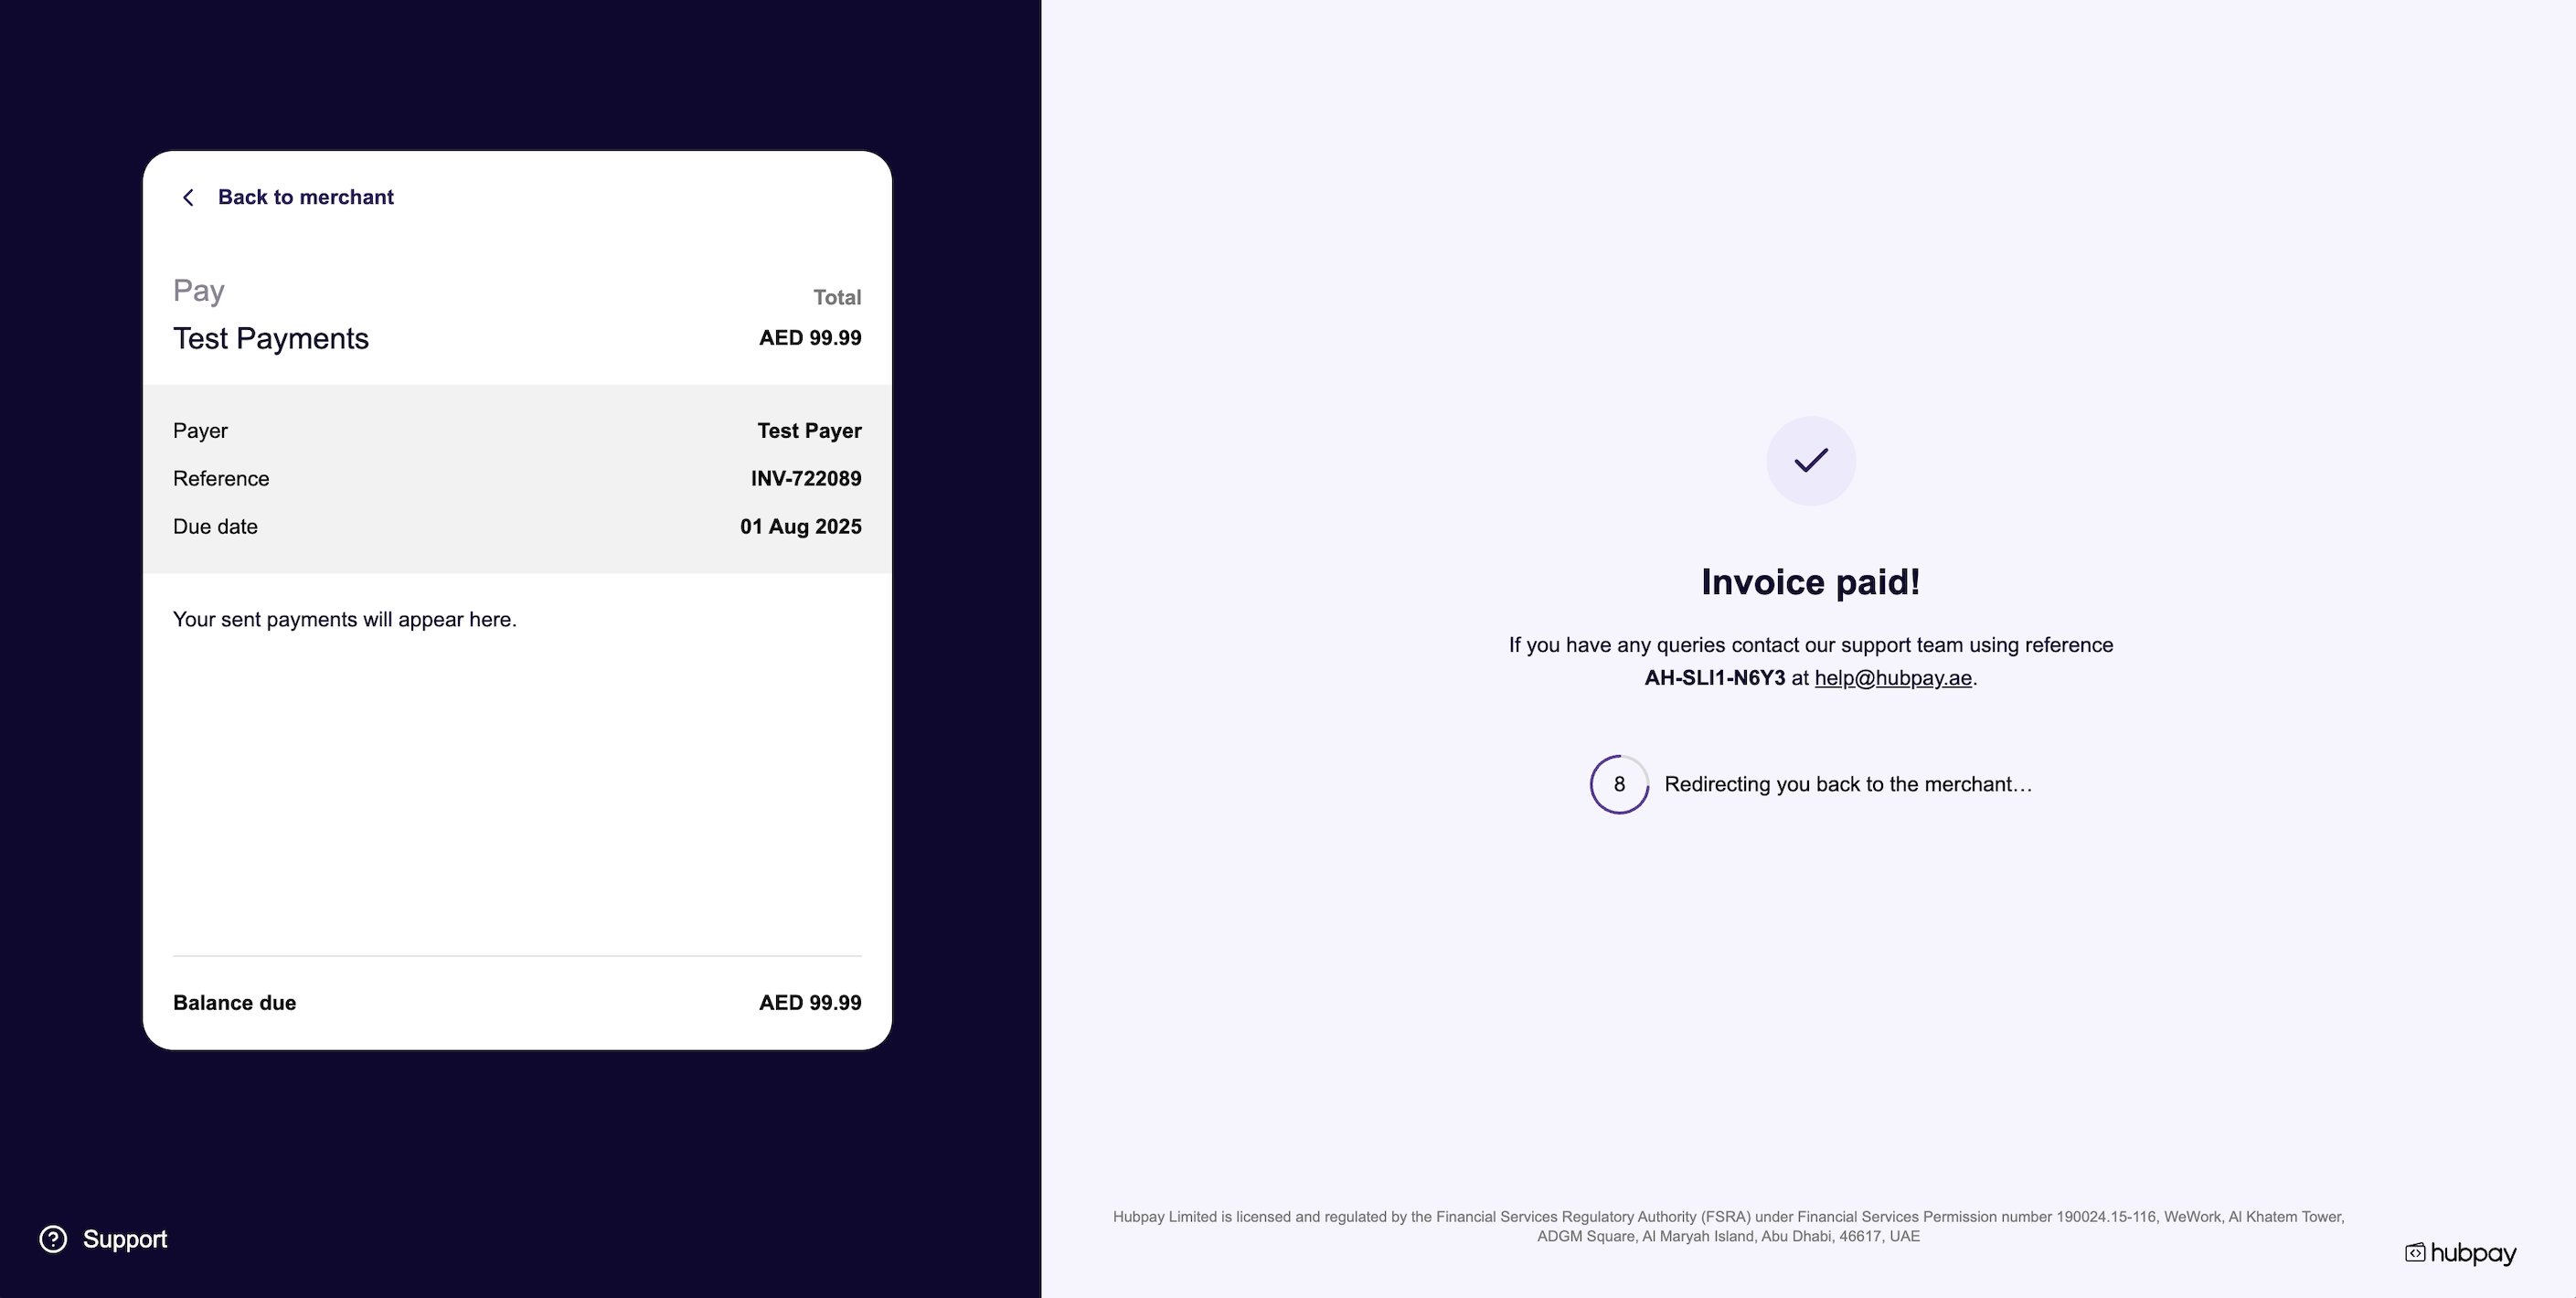
5. Handle redirect result
After the payer completes or cancels their payment journey, they are redirected to your chosen URLs:
| Outcome | Description |
|---|---|
successRedirectUrl | Payment journey completed. The payer has finished their actions (e.g., submitted bank transfer instructions), but this does not mean funds have been received. Use the appended IDs to verify actual payment status on your backend via webhook or API lookup. |
cancelRedirectUrl | Customer cancelled or left the payment page. |
📱 For React Native, handle the message in your webview handler:
const handleMessage = (event) => {
    try {
        const message = JSON.parse(event.nativeEvent.data);
        switch (message.type) {
            case "success":
                // Handle success, e.g. navigate to success screen with IDs
                break;
            case "cancel":
                // Handle cancellation
                break;
        }
    } catch (error) {}
};
For secure confirmation of all payments, see Confirming payments.
6. (Optional) Listen for webhooks
Set up webhooks to get real-time notifications of payment events:
v1.collection.payment_request.createdv1.collection.payment_request.paidv1.collection.payment_request.part_paidv1.collection.payment_request.cancelled
7. (Optional) Customize branding
For details on branding your payment experience, see Branding.
Need help?
Contact our team or check the API Reference for more details.